Difference between revisions of "DCInstructions"
From Immersive Visualization Lab Wiki
(→Turn on Displays) |
(→Run CalVR) |
||
| Line 21: | Line 21: | ||
* In main menu, click on "Applications" button. | * In main menu, click on "Applications" button. | ||
| − | * Click on "CalVR (Director's Collaboratory)" button | + | * Click on "CalVR (Director's Collaboratory)" button to open the [[Media:calvr-menu.jpg|CalVR menu]]. |
* Click "Enable CalVR X Mode". | * Click "Enable CalVR X Mode". | ||
* Wait until all screens show the Calit2 logo. | * Wait until all screens show the Calit2 logo. | ||
Revision as of 17:20, 15 May 2013
Contents |
Director's Collaboratory Instructions
The following instructions are for running CalVR with the Future Patient demonstration on the 6x4 tiled display wall in the Director's Collaboratory.
Open Remote Control Interface
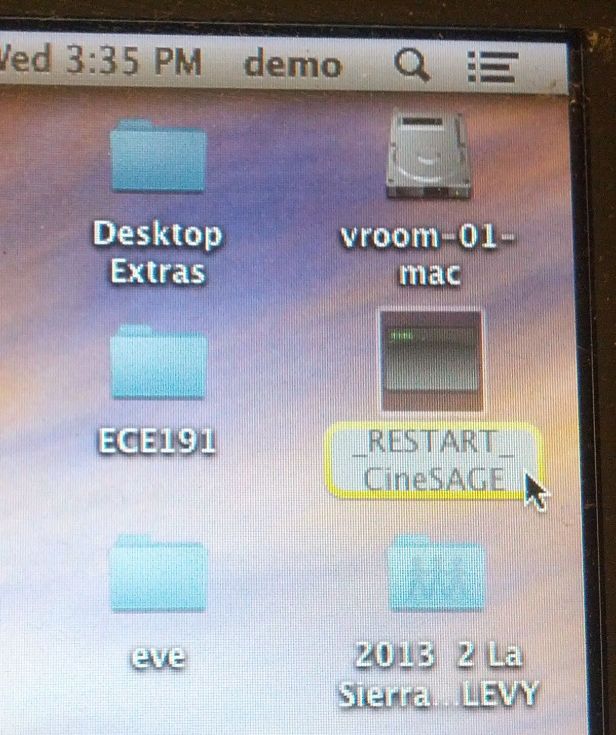
- Go to Mac with Wacom display and open a web browser.
- Browse to "67.58.41.39:8889".
- If the page is not available:
- Double click "_RESTART_ CineSAGE" icon near the top right corner of the screen.
- Hit reload button in browser.
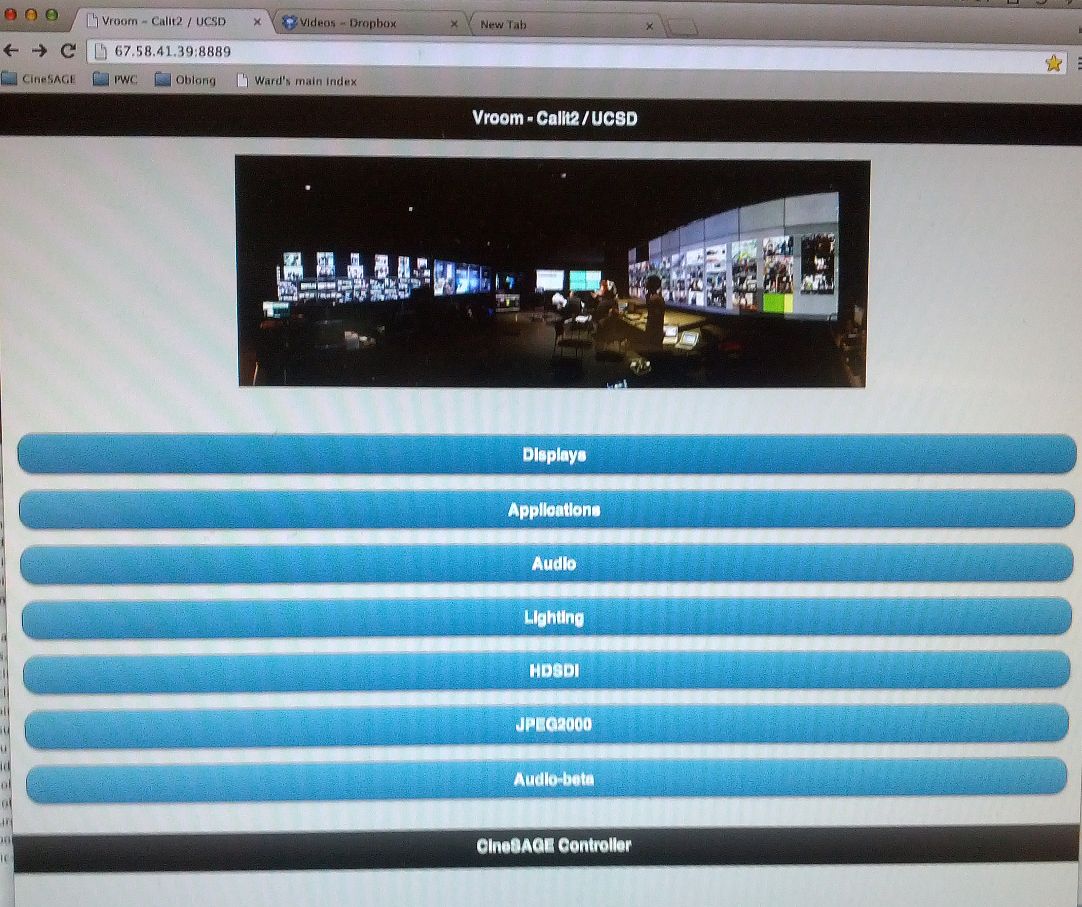
- You should now see the main menu of the control interface.
Turn on Displays
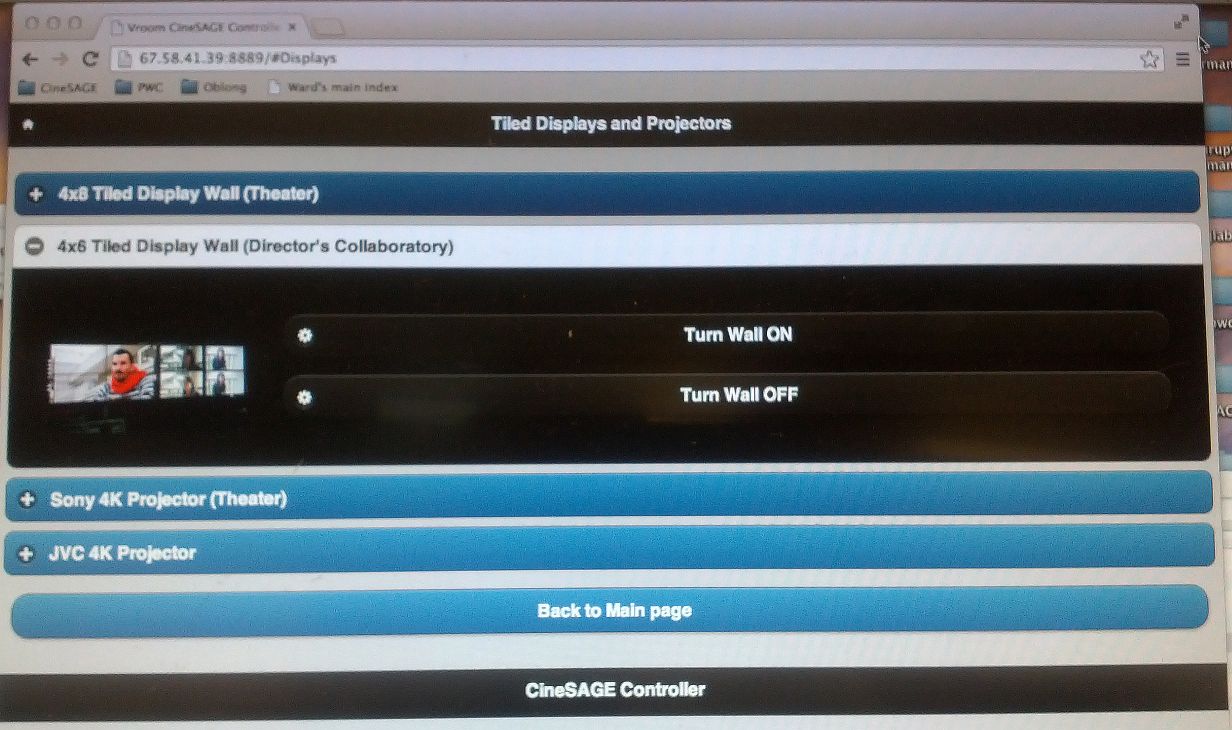
- In main menu, click on "Displays" button.
- In Displays menu click on "4x6 Tiled Display Wall (Director's Collaboratory)".
- Click on "Turn Wall ON"
Run CalVR
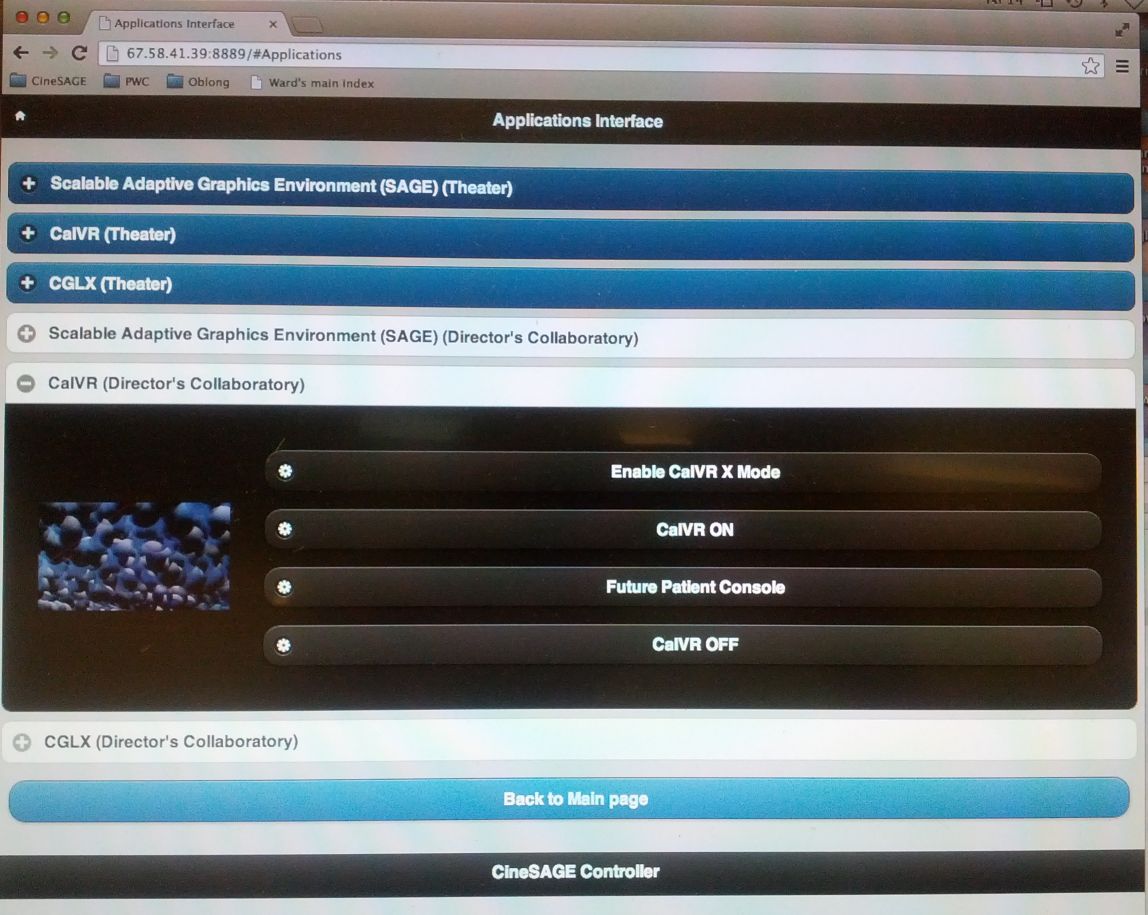
- In main menu, click on "Applications" button.
- Click on "CalVR (Director's Collaboratory)" button to open the CalVR menu.
- Click "Enable CalVR X Mode".
- Wait until all screens show the Calit2 logo.
- Click "CalVR ON".
- Click "Future Patient Console".
Shut Down
- In "CalVR (Director's Collaboratory)" menu, click on "CalVR OFF".
- In "Displays" menu, click on "Turn Wall OFF".